Arduino Nano v3.0 clones (How-to & Review)
Arduino Nano v3.0 clones (How-to & Review)
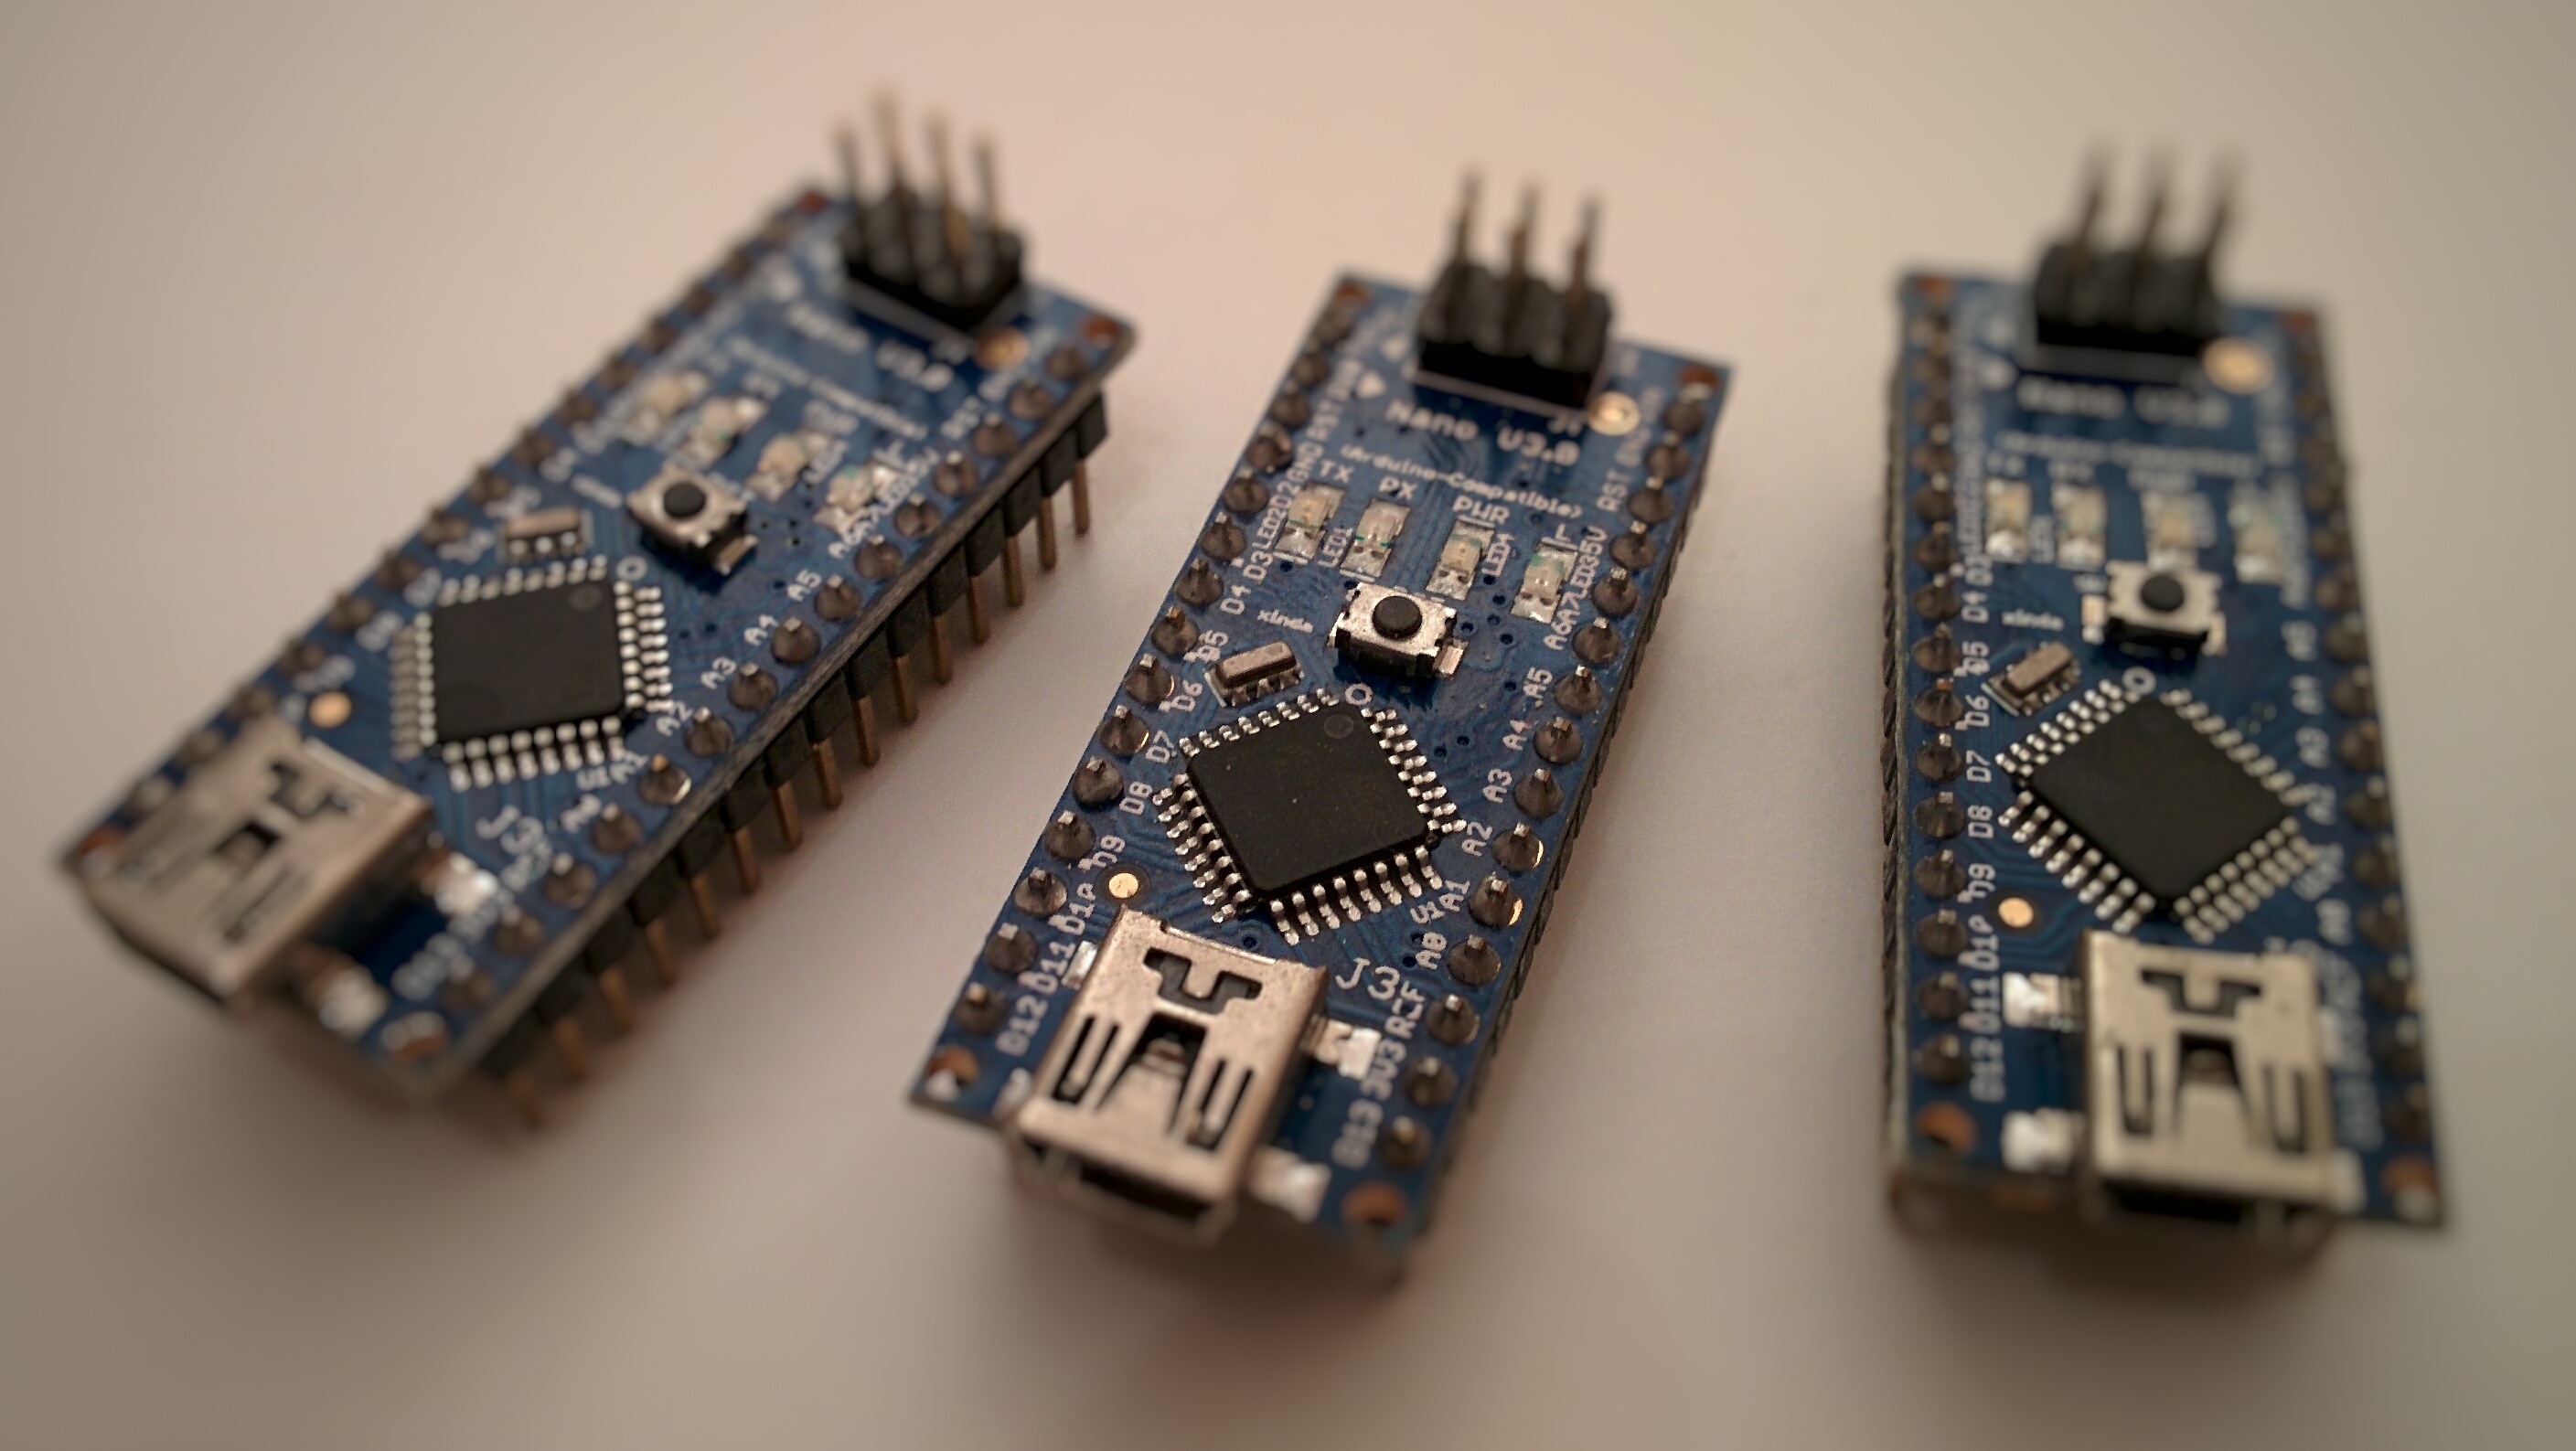
If you need a breadboard-friendy, well documented and supported Arduino board, your best choice is a Nano. Unfortunately an original Arduino Nano could cost you around $30 plus shipping so it makes sense to search for an alternative source. There are also some chinese clones that are around five times cheaper, even with worldwide shipping.
But wait! There’s always a reason why a clone of something is cheaper than the original product. In this case there can be two pitfalls you need to know about.
The bad
- Sometimes the FTDI chip which makes the USB communication possible is a counterfeit. This could cause problems when you install the official FTDI drivers and they just refuse to work.
- Usually there is no bootloader on the microcontroller. You need to upload it yourself and that means you need to have an appropriate programmer on hand.
Update 2015.12.15
I don’t recommend these clones anymore. Check out my other post about a clone based on the USB chip CH340G.
Using a counterfeit FTDI chip
If you are interested in the differences between a real and fake chip check out this article with wonderful microscope images. These fake chips used to work perfectly just as the original ones.
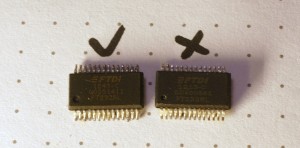
Image courtesy of ZeptoBars
According to Wikipedia it all started in September 2014 when FTDI released a new driver that could detect fake chips and bricked them by setting their product id to “0000”. This driver was withdrawn from Windows Update but many devices got bricked already and the driver was still accessible for a long time.
FTDI stated that they were working on an updated version of the driver “which notifies the user of non-genuine FTDI products in a non-invasive manner”. Well, this driver was released in July and I was shocked what FTDI considers to be non-invasive:
Basically, with the new driver, all you can receive from the fake chip is “NON GENUINE DEVICE FOUND!”. The funny thing is that you only see this message when the device is transmitting. So if you have a new clone with an empty ATmega, you don’t really see anything suspicios. It will appear in the device manager correctly but every time you press upload, avrdude will fail with the following:
stk500_recv(): programmer is not responding
You can only see the “NON GENUINE DEVICE FOUND!” message if you use an ISP programmer to upload a program which transmits something with UART.
So if you are just starting to play with Arduino clones make sure that you are NOT using the latest drivers.
And now lets see how to get to a working Arduino nano from the worst possible scenario: bricked device (pid=0000), latest FTDI drivers and missing bootloader.
- First download the following files:
- FT_Prog and CDMUninstaller from FTDI Utilities
- Old FTDI driver from here.
- Make sure that the device appears in Device Manager and is recognized correctly. Double-click the device > Details > select Hardware Ids property and it should say “PID_0000” somewhere.
- Open up FT_Prog and select DEVICES > Scan and parse. It should display your device like this:
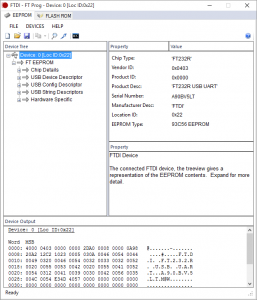
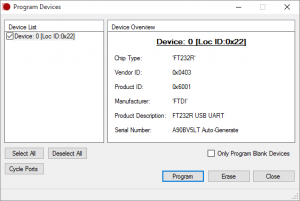
- Click on “Chip details” and change the PID back to 6001, then click DEVICES > Program and program the device with the new PID. Now the chip itself is in its original state, we only need to remove the new driver and make sure it never comes back.
- Disable automatic updates of drivers in Windows. This is extremely important, do not skip this step!
It might be slightly different for each Windows version but in Windows 10 open up Control Panel and navigate to System and Security > System > Advanced system settings > Hardware tab > Device Installation Settings. Make sure you have “No, let me choose what to do” and “Never install driver software from Windows Update” selected.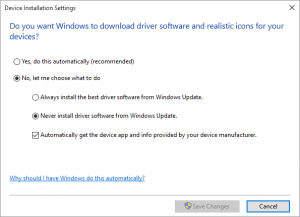
- Open up CDMUninstallerGUI, click “Add” to add the device to the list and click “Remove”. This removes every single instance of the FTDI drivers.
- Restart your computer.
- Open up Device Manager and you should see that the Arduino is not longer recognized as a virtual COM port.
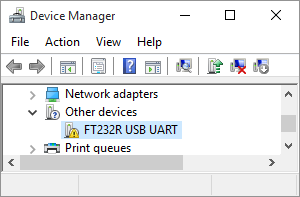
- Install the “old” drivers manually.
- Connect the ISP programmer to the nano.
- Burn the bootloader with Arduino IDE.
- Remove the ISP programmer and connect again with mini USB.
After this, you should have a fully functional and future-proof Arduino Nano clone.
- ۰ نظر
- ۰۴ بهمن ۹۴ ، ۱۶:۱۷

